

I will be changing out my passenger side outer cv axle boot soon.
Do anyone want me to make a DIY on the job or have someone else already got it covered?
The reason I am just changing the boot is because my tear is pretty new and I have not noticed any axle noise.
Furthermore, the factory axles are upwards of $700.00 each from the dealership.
Aftermarket manufactured axles can be found for $80 on up, but I think that the factory axles are pretty good if not better quality( my boot lasted 9 years,cv axles still quiet) so I will save mine if possible.
I will be using a cv axle boot stretcher to stretch the cv boot onto the axle without removing the axle.
I feel this method will allow me to save my axles by quickly changing changing out worn cv axle boots before they rip and cause damage to the cv joints.
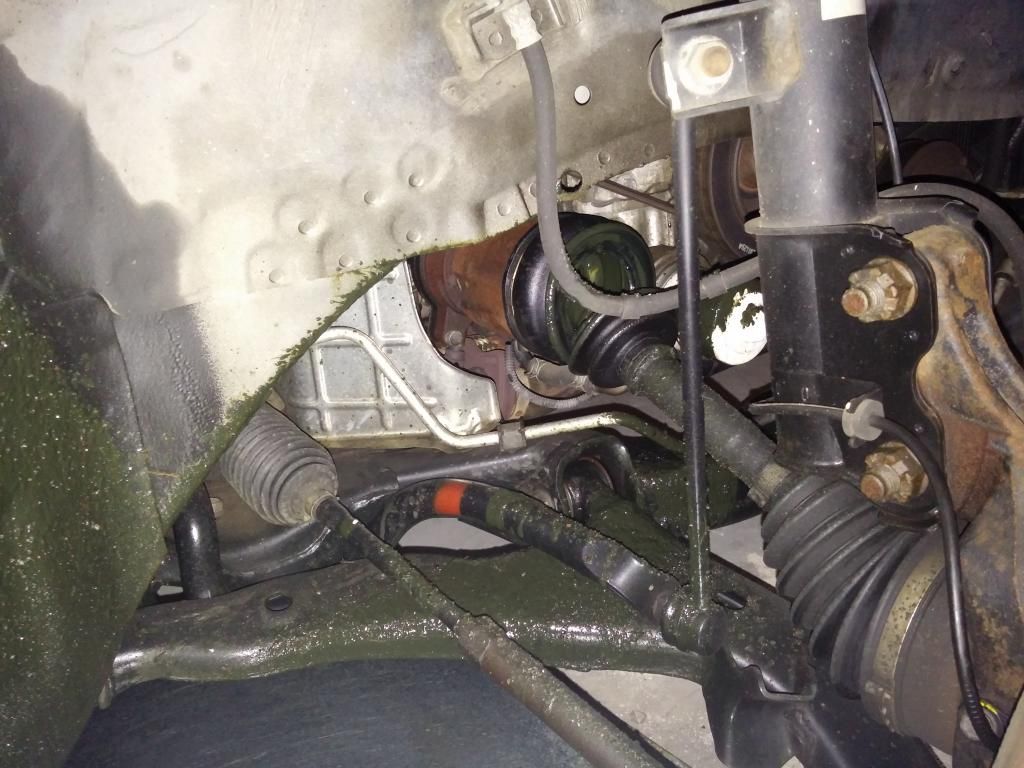
Here is what I have now
![Image]()
What your thoughts?
Do anyone want me to make a DIY on the job or have someone else already got it covered?
The reason I am just changing the boot is because my tear is pretty new and I have not noticed any axle noise.
Furthermore, the factory axles are upwards of $700.00 each from the dealership.
Aftermarket manufactured axles can be found for $80 on up, but I think that the factory axles are pretty good if not better quality( my boot lasted 9 years,cv axles still quiet) so I will save mine if possible.
I will be using a cv axle boot stretcher to stretch the cv boot onto the axle without removing the axle.
I feel this method will allow me to save my axles by quickly changing changing out worn cv axle boots before they rip and cause damage to the cv joints.
Here is what I have now
What your thoughts?
")


